Construct Colour Dials
One of our goals is to make learning about colour as fun and interesting as possible. For many, the process involves unlearning information that has been repeated. It can feel frustrating to have to unlearn and relearn, so we want to make it fun! If you would like to understand why we work with cyan, magenta, and yellow, we invite you to read Sonya Rowan’s book ‘Just Swap It: Kinder Colour Stories’.
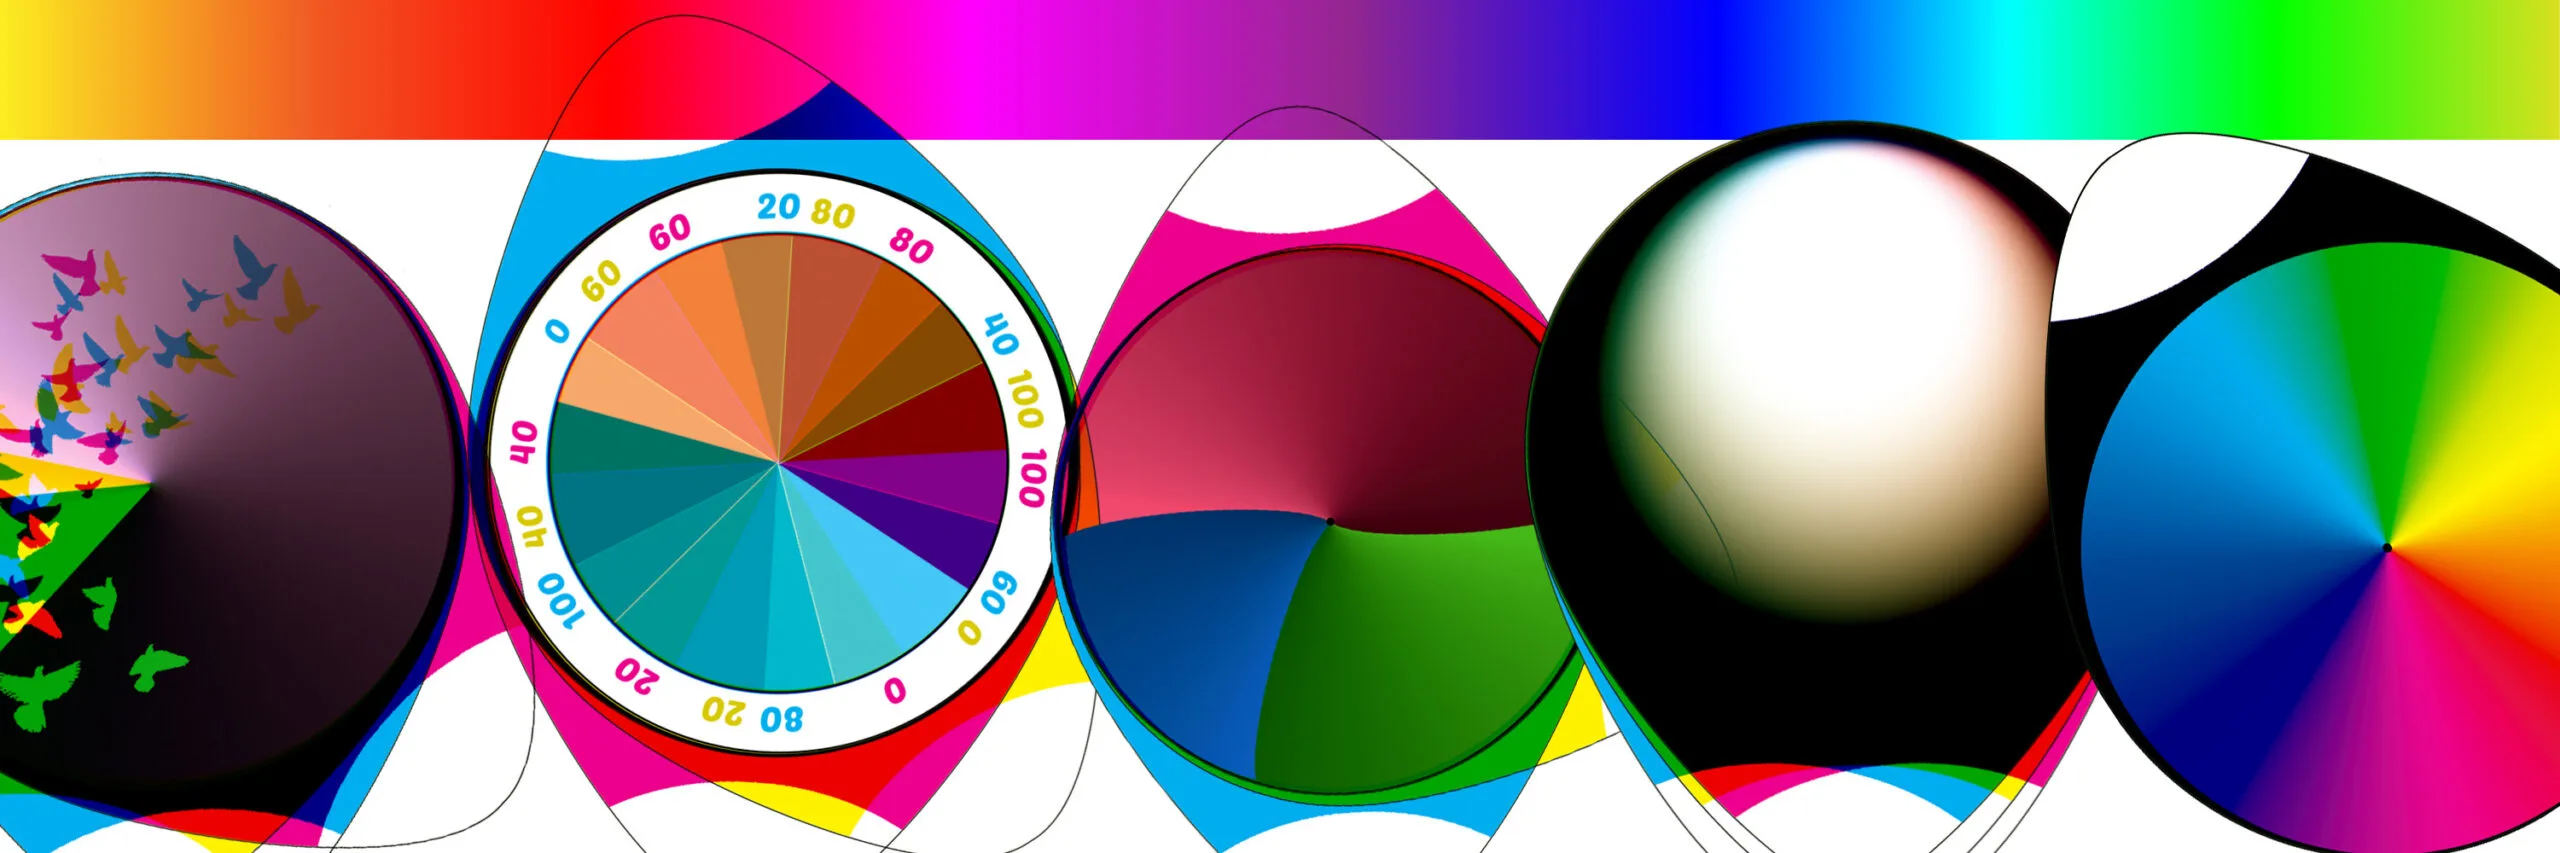
We have lots of designs for you to choose!
What you get when you buy a design: a Colour Dial design file with two copies on one sheet for printing, and a file with full instructions to create Colour Dials.
What you will need: a printer, transparency film, scissors, white paper, a sewing needle, flat back earring posts, and plastic earring nuts/backs.
You can select designs from the options below and we have created a video tutorial if you would like to see the process in action.